Longer, fuller hair and beautiful highlights! Tape Extensions allow you to create a new, stylish look at home.
Do it yourself or with a friend – we’ll guide you step by step!

Do it with a friend.

We offer different variants of Tape Extensions, but the insertion principle is the same for everyone. Here’s a step-by-step guide for a full extension.
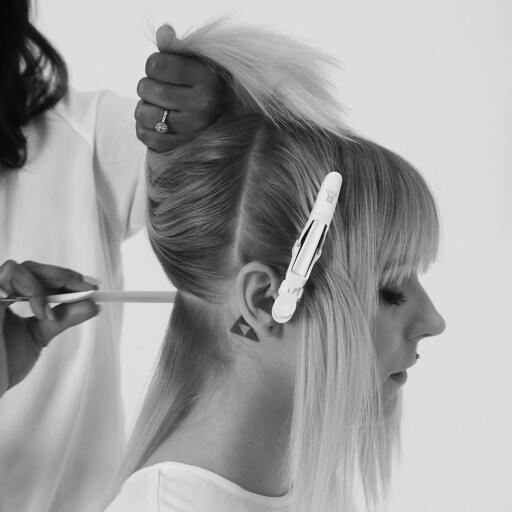
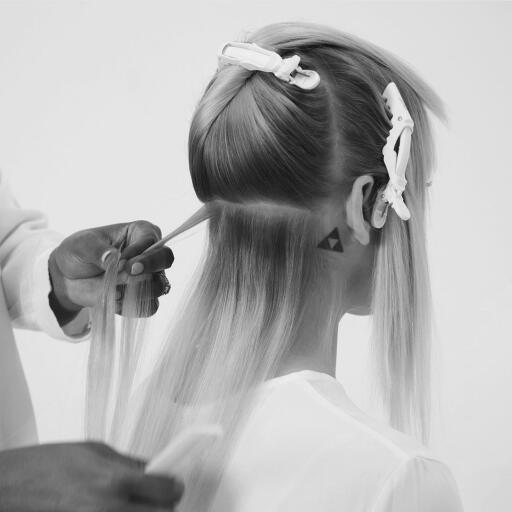
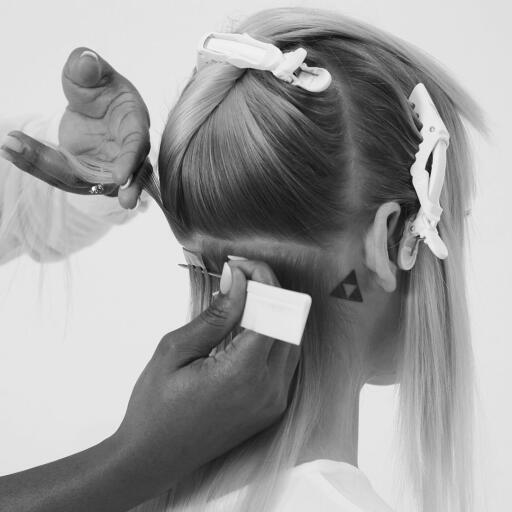
1. Divide your hair into three sections by making vertical partings at the ears with a pintail comb, and put them up with clips.
2. Start with the back and take a thin section of hair at the nape, as wide as the tape attachment. Be careful not to place the attachments closer than about 3 cm from the hairline so that the hair can be put up without exposing the attachments.
3. Take a Tape section and weave it with a pintail comb. Place the section under the selected section of hair, approx. 3–5 mm from the scalp.

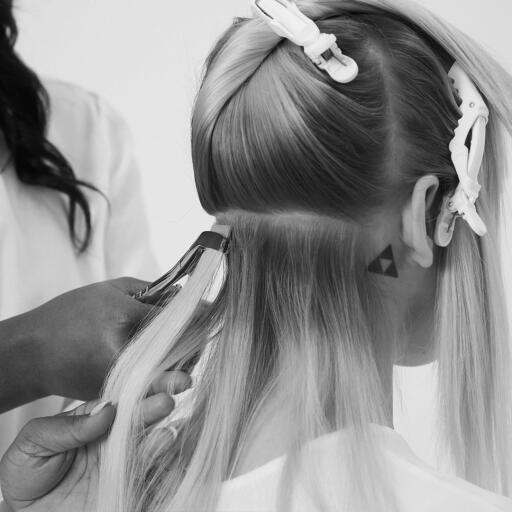
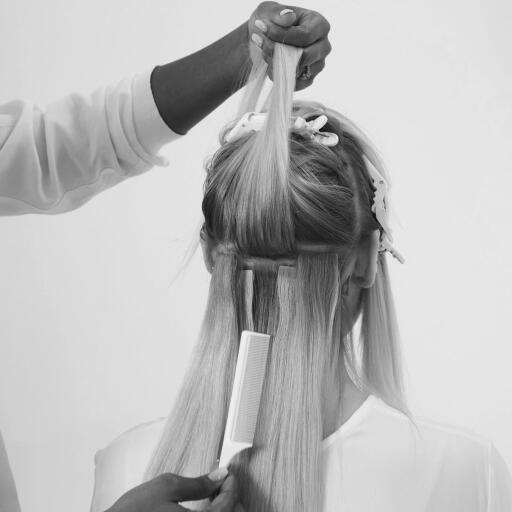
4. Place the section of hair on the tape.
5. Take a new tape section and apply it to the top of the hair section like a double sandwich. Press out any air using pliers. Finish the row by repeating steps 2–5. Position the attachments approx. 0.5 cm apart.
6. Make a new parting above the previous row and take a new section of hair. Build according to the bricklaying method by taking sections at an angle above those on the row below. This is to create an even distribution of hair and to avoid tangling. Repeat the procedure from steps 3 to 6 until the rear part of the head is complete.


7. Now we move on to the sides. Make a parting approx. 2 cm above the ear and take new sections of hair. Remember to keep a distance from the hairline and proceed according to the bricklaying method. Repeat on the other side – and the full hair extension is complete!